
Echo Platoon Support

Introduction
Section titled “Introduction”Echo is embedded in the Main Platoon. Their main tasks include covering regular elements, protecting flanks and providing effective fire support.
Composition
Section titled “Composition”- Combat Engineer - Echo Team Leader and trained Engineer. Proficient in the following fields of work:
- Fortification of Positions (digging Trenches)
- Repairing Vehicles
- Deploying Explosives and Mines
- Disposal of Explosives and Mines
- Weapons Specialist - Operator of Echo’s Heavy Weapons, which include:
- Medium Machine Guns (MMG)
- Medium Anti-Tank Launchers (MAT)
- Heavy Anti-Tank Launchers (HAT)
- Mortars
- Assistant Weapons Specialist - Assisting the Weapons Specialist to deploy his weapons in the most effective way.
- Assist with Rangefinder
- Carries Ammunition
- Assists reloading
- Provides protection
Combat Engineer Proficiency
Section titled “Combat Engineer Proficiency”
Engineer Skills
Section titled “Engineer Skills”Skills a Combat Engineer needs to be able to bring onto the battlefield.
- Entrenching - Equipped with an Entrenching Tool the Combat Engineer can dig trenches. Used over ACE Self-Interaction he can dig either a small or a big trench. These can be positioned freely, although they require ground that can be moved, like sand or grass, it does not work on concrete and such. The Entrenching Tool allows you to continue constructing unfinished Fortifications.
- Fortification - Equipped with an Entrenching Tool and Construction Tool the Combat Engineer can construct Fortifications as long as there are available resources. Used over ACE Self-Interaction he can construct Fortifications. Each Fortification will cost resources depending on its complexity. Possible Fortifications include small bunkers, various sandbag walls, tank traps and razor wire.
- Construction Resources can also be requested by supply drop.
- Fortifications can be positioned freely, they do not require soft ground.
- Repairing Vehicles - Unless you just switch tyres, Repairing requires a Tool Kit. These can usually be found inside the vehicles. Repairing is done by interacting with the Vehicle with ACE Interaction.
- Deployment of Explosives - Explosives are placed by using ACE Self-Interaction. Often Explosives require arming after placing which is being done by ACE Interaction with the Explosive. The Combat Engineer carries manual tickers (Clacker).
- Disposal of Explosives - Depending on the type of Explosive you face, there are different requirements. Generally it follows a certain procedure.
- Locate - Use the Mine Detector to assist.
- Approach - Carefully crawl towards the Explosives, especially if you suspect a trigger like a pressure plate and such.
- Defuse - It requires a Defusal Kit and is being done by ACE Interaction with the Explosive.
Explosives
Section titled “Explosives”| APERS Mine | APERS Bounding Mine | APERS Tripwire Mine | AT Mine | IED | Claymore | SLAM | Explosive Charge | Explosive Satchel |
|---|---|---|---|---|---|---|---|---|
 |
 |
 |
 |
 |
 |
 |
 |
 |
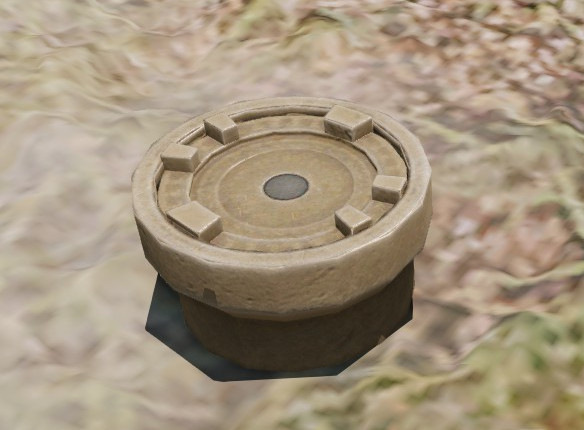
- APERS Mine - Classic pressure activated anti-personnel mine.
- APERS Bounding Mine - Pressure activated anti-personnel mine (Bouncing Betty). Initial charge propels the main charge into the air which will explode midair above ground spreading shrapnel over a large area.
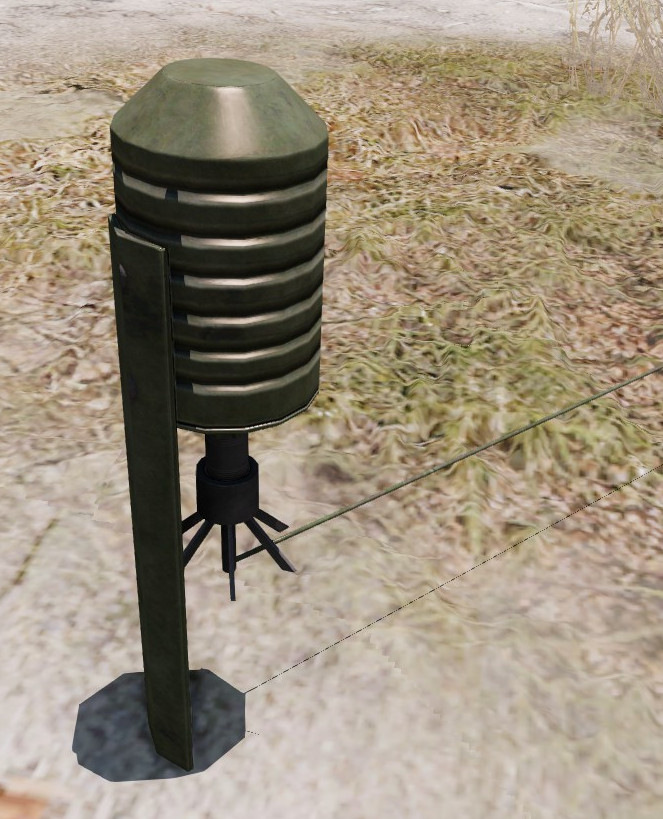
- APERS Tripwire Mine - Classic anti-personnel mine activated by a tripwire.
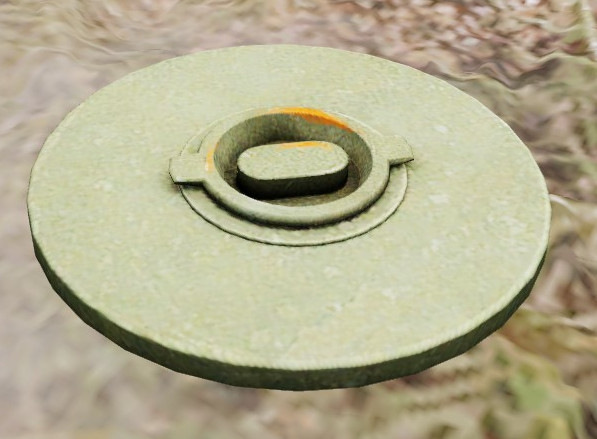
- AT Mine - Anti-vehicle / tank mine activated by pressure. It will not be activated by infantry stepping on it.
- IED - Either pressure or remotely activated. Usually based on an artillery shell. Highly effective with a large explosion radius. Effective against vehicles and personnel.
- Claymore - Directional anti-personnel mine. Usually remotely activated.
- SLAM - Directional anti-vehicle / tank mine. Either activated by a magnetic sensor in bottom attack mode, an infrared sensor in side attack mode, or remotely activated.
- Explosive Charge - Explosive charge activated either by timer or remotely.
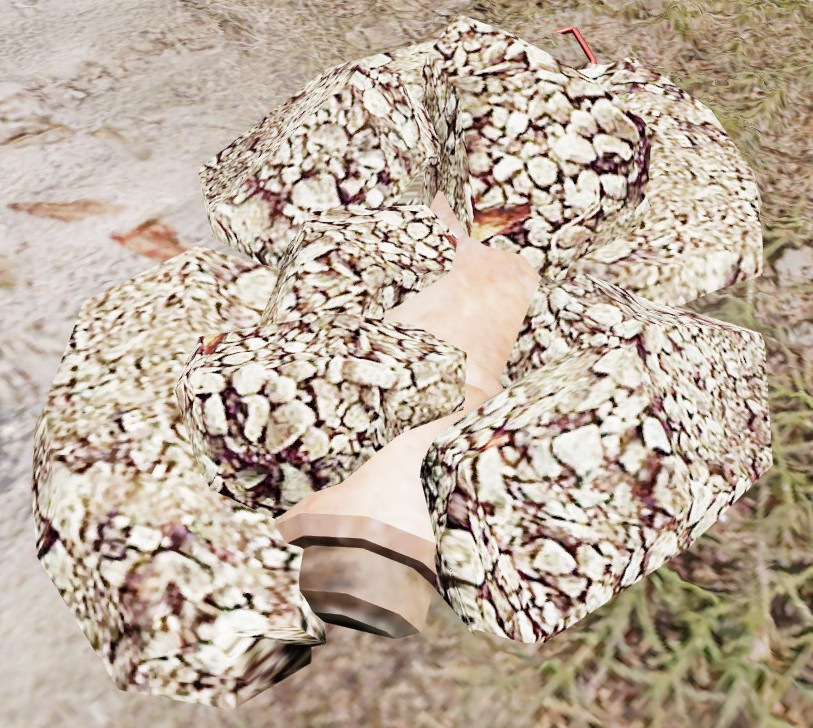
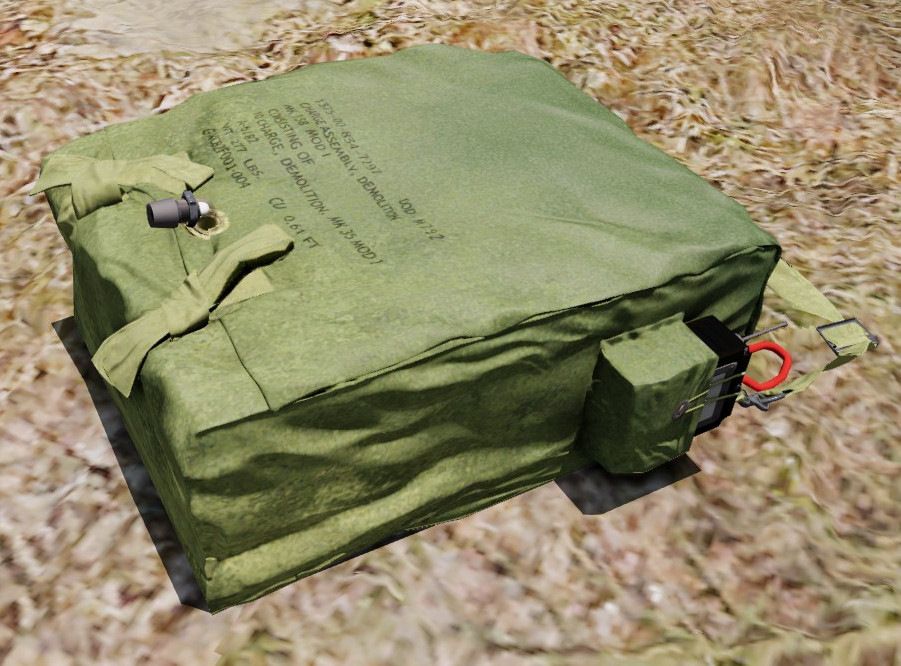
- Explosive Satchel - Large explosive charge activated either by timer or remotely.
Heavy Weapon Proficiency
Section titled “Heavy Weapon Proficiency”Some things like how to operate Rocket Launchers (MAT/HAT) can be found in Section 4 Basic Infantry Skills.
Mortar
Section titled “Mortar”The heaviest weapon deployed by Echo is a Mortar. The Communication in regard to Fire Support Request can be found in Section 3 Communication. Furthermore, you need to be proficient with Map Tools, details can be found in Section 4 Basic Infantry Skills.
General
Section titled “General”- Required Tools - Following Tools are required for effective mortar deployment and usage:
- Map Tools - Direction and Distance.
- 82mm Rangecard - Providing Ballistic Information.
- Pen & Paper - You eventually need to make some notes and calculations.
- Clock - Not required, but handy.
- Assemble Mortar - The Mortar is usually stored in two Backpacks. Both need to be placed and assembled.
- Ammunition - The Mortar must be manually reloaded with ACE Interaction. Ammunition is stored in a box which can be carried. There are three types of Ammunition available:
- HE
- Smoke
- Illumination
Firing Solution
Section titled “Firing Solution”Assuming you received a Target or you just prepare for potential Targets during downtimes. You need to go through the following steps:
Step 1: Collect Target Information
- Find your exact location on the Map.
- Find the target location on the Map.
- Use Map Tools and get the direction (in Mils) and distance in metres.
- Get the Height Difference between your location and the target location and whether the target is above or below you in height.
Step 2: Choose appropriate Charge
- Charge influences the amount of explosive force used to propel the Mortar Round.
- Influences the Arc and with it the travel time.
- Use the lowest Charge possible for the given distance.
Step 3: Collect & Calculate
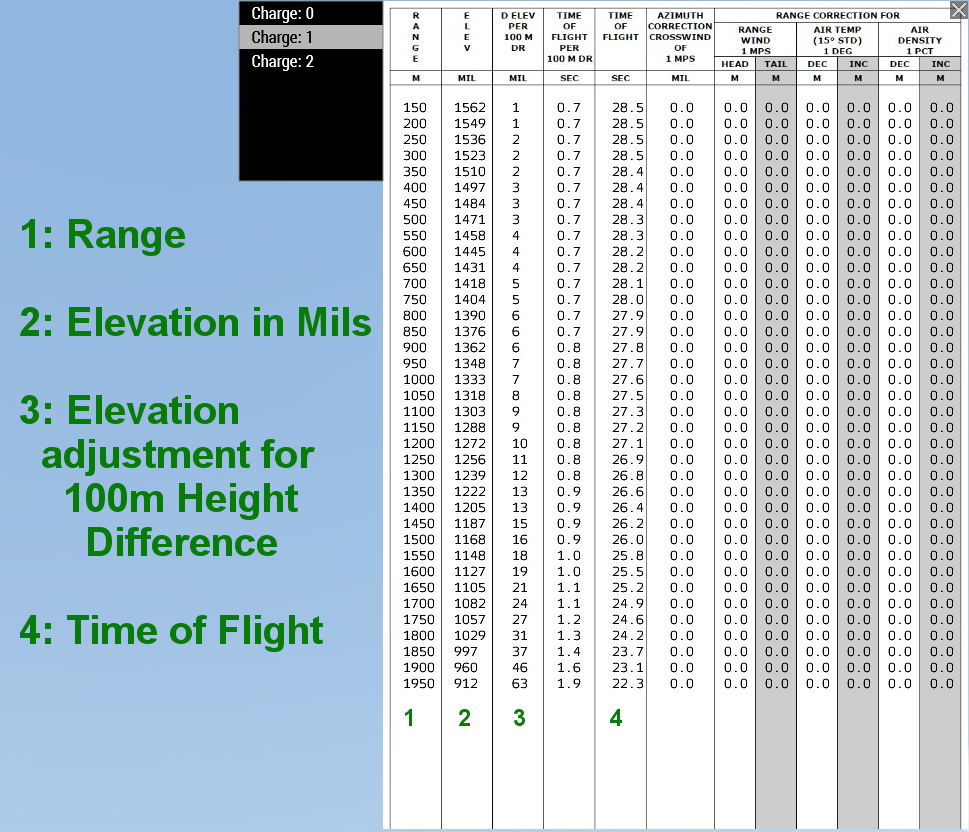
Use the 82mm Rangecard and acquire all relevant information. Given the distance to the target and charge, you need to acquire the following information:
- Elevation
- Base Setting
- Elevation adjustment for 100m Height Difference
- Scales linearly, e.g. 50m Height Difference means half of the adjustment value needed
- If Target is above you in height, add the value to Elevation, else subtract
- Time of Flight
- Height adjustment for Time of Flight is negligible
Step 4: Aim & Fire
Set Charge, Elevation (in Mils) and Direction (in Mils) to align your Mortar with the Target and Fire. Communicate your status to the other units:
- Rounds Away - First Round fired at Target.
- Rounds Complete - Last Round fired at Target.
- Splash Out - 7s warning before first impact.

Step 5: Evaluate & Adjust
Depending on Reports of your effectiveness on the Target you might need to adjust and be called to fire again.
Motorised/Mechanised
Section titled “Motorised/Mechanised”Echo might operate with a Vehicle. Usually in order to assist with transporting equipment or enhancing firepower due to vehicle weaponry. This section will be about how to utilise and deploy a vehicle like a HMMWV.
- Vehicle Roles - Depending on the Vehicle the roles may switch. For a HMMWV with an M2 Machine Gun the Weapons Specialist should not be the Gunner of the M2 per se. Being a passenger allows him to deploy his MMG (for example) while his Asst. Weapon Specialist is able to operate the mounted M2. The Combat Engineer is driving the HMMWV. The Weapon Specialist is sitting in the backseat behind the driver.
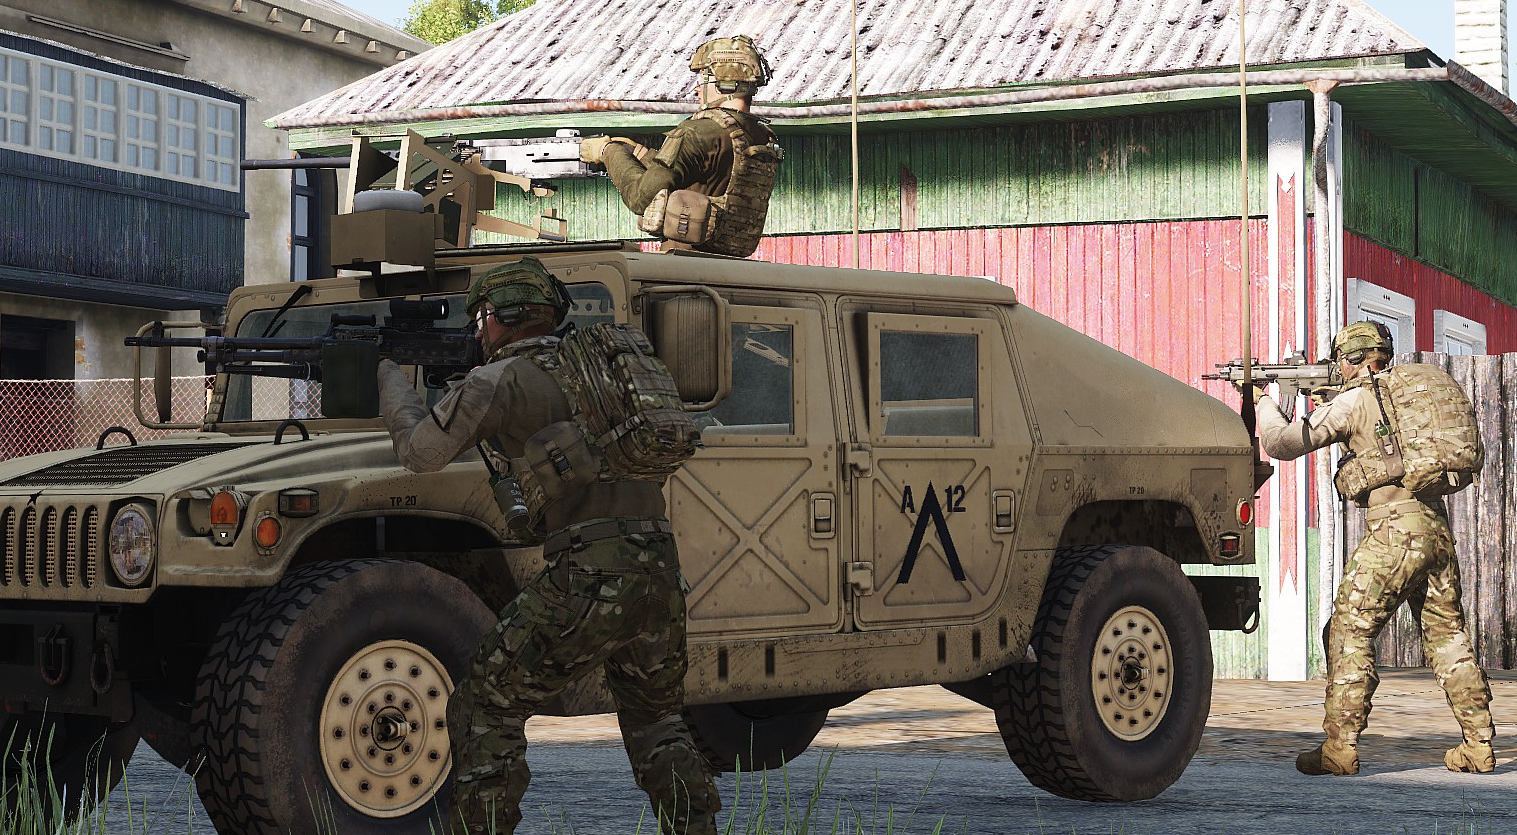
- Holding Vehicle - Hold the vehicle angled in the centre of the road. That provides a lot of cover, assuming the contact is coming from the front. It should be angled to provide a maximum of cover, while being able to move forward or go in reverse without switching between them.
